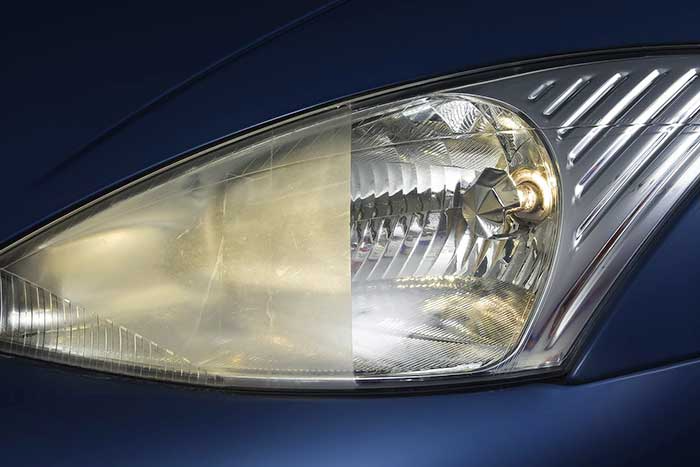
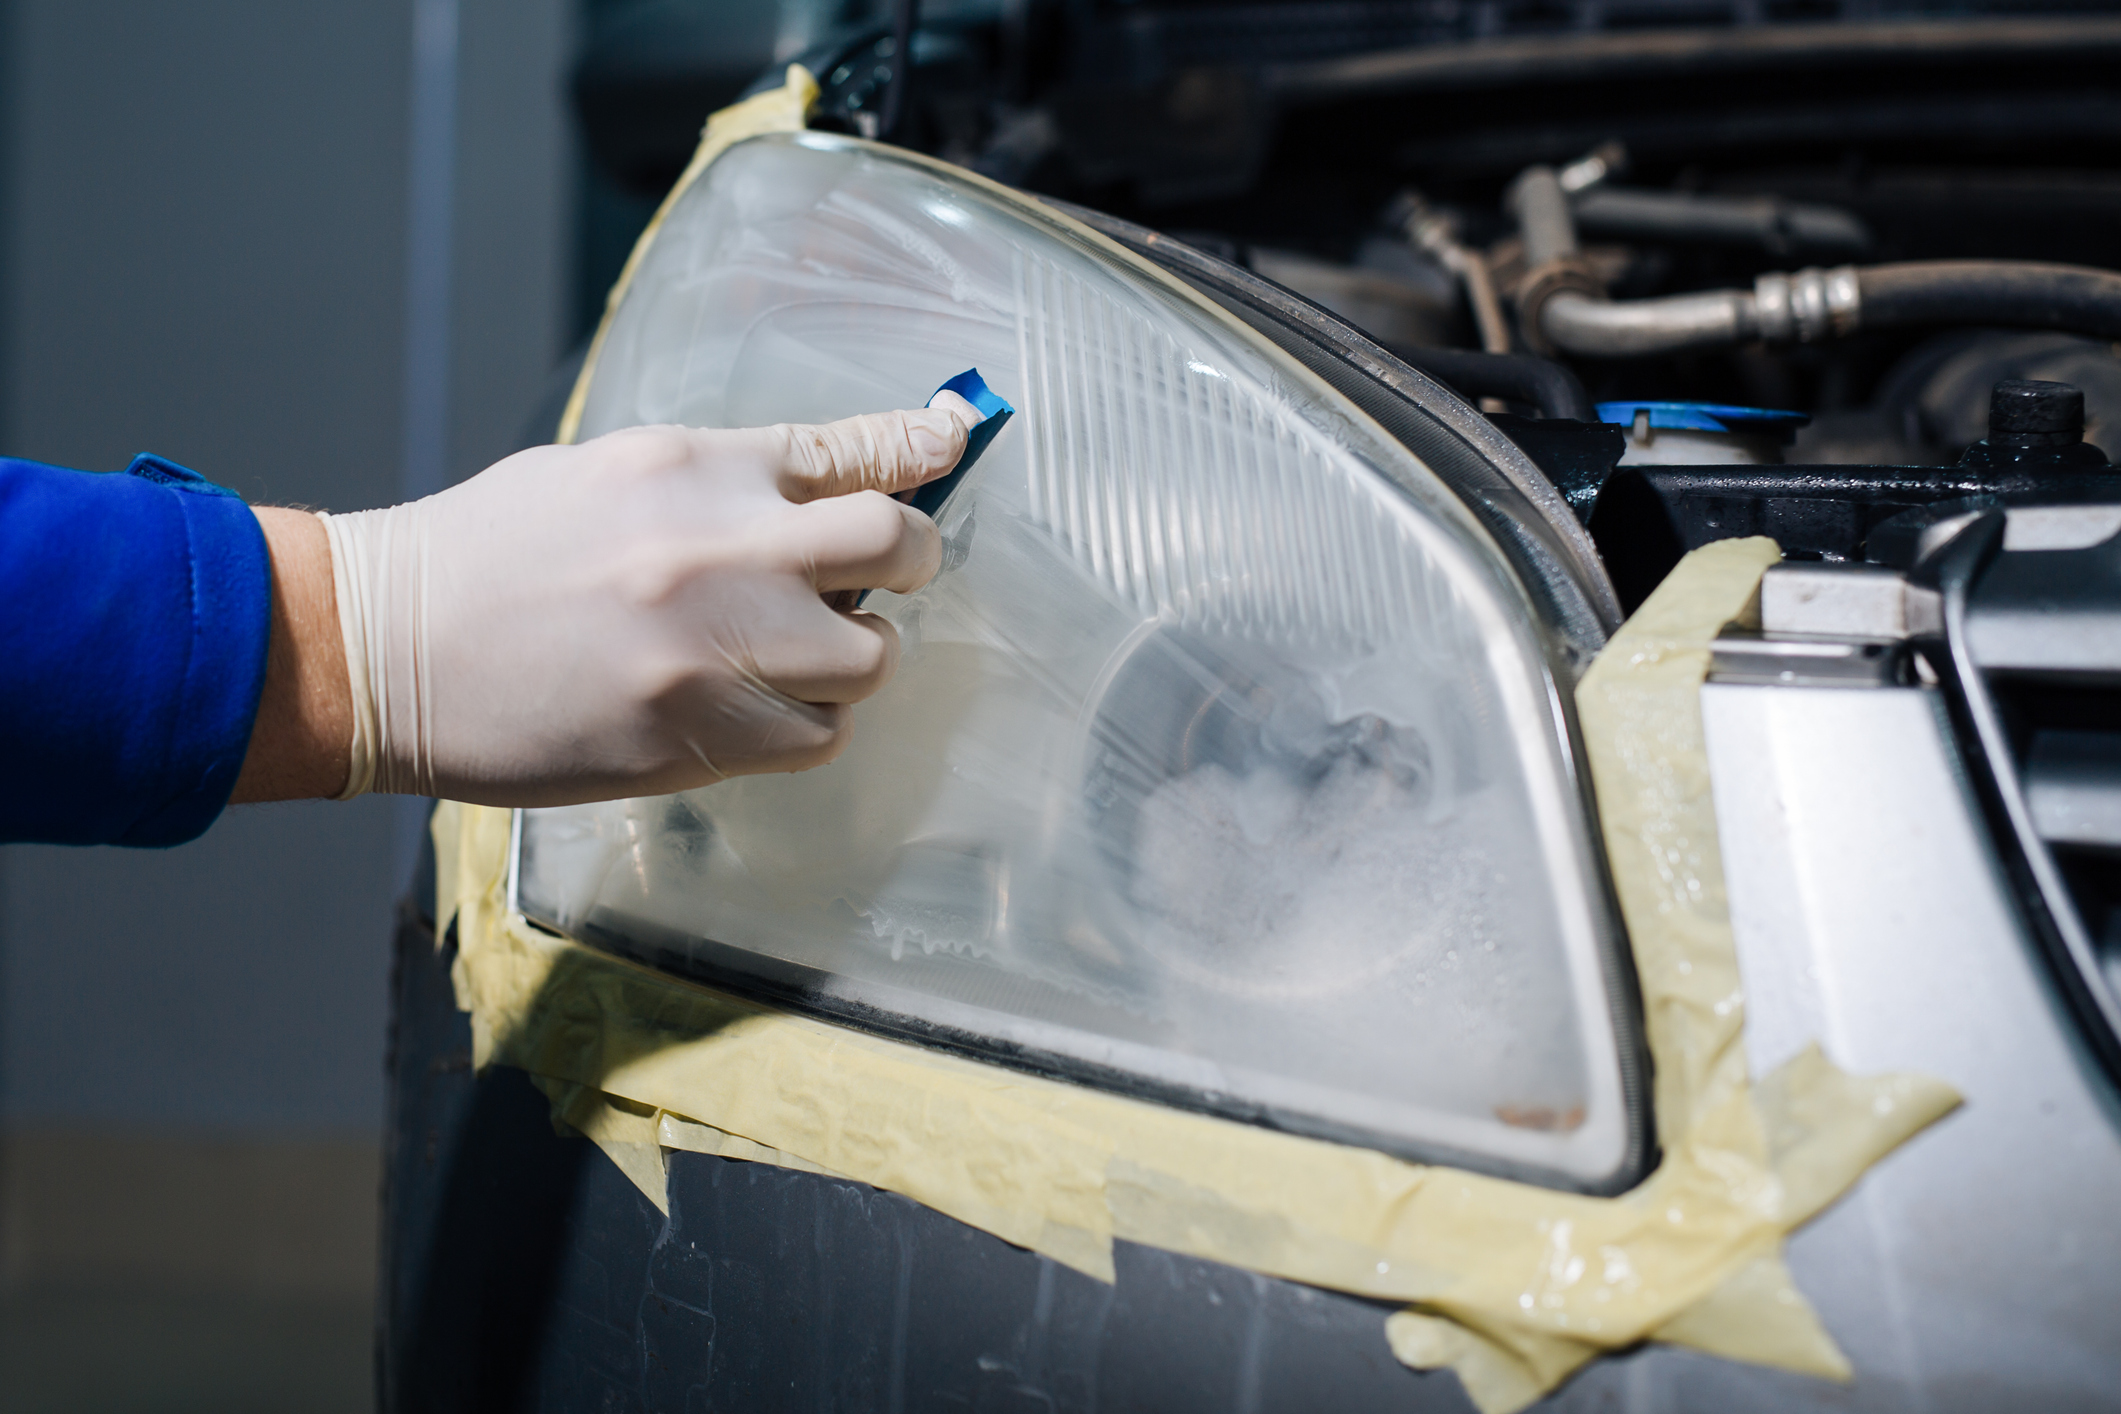
Car headlights play an essential role in safety, ensuring good visibility at night or in bad weather. However, over time, headlights can become opaque or yellowed due to weathering, UV rays, dirt and accumulated debris. Not only does this affect the appearance of the vehicle, it also reduces lighting power, compromising safety on the road. Fortunately, there are several methods for cleaning opaque headlights and restoring their clarity, giving them a new lease of life.
Why do headlights become opaque?
Modern headlights are generally made of polycarbonate, a plastic material that resists impact well but is more sensitive to wear over time. Unlike the glass headlights used in the past, polycarbonate headlights can be degraded by the elements.
The main reasons for this opacity are :
- UV rays: the sun’s rays damage the protective coating applied at the factory, causing yellowing and a change in transparency.
- Pollution and dirt: Dust, road residue and splashes can accumulate and create a layer of dirt, making the headlights less brilliant.
- Bad weather: Rain, snow, frost and sand can also affect the surface of headlights, making them rough and dull.
To maintain your headlamps efficiently and extend their life, consult an expert in automotive parts and maintenance tips to find the best solutions.
What are the dangers of opaque headlights?
Opaque or tarnished headlights no longer diffuse light properly. This can lead to a number of safety problems:
- Reduced visibility: Opaque headlights reduce their ability to illuminate the road properly, especially at night or in adverse weather conditions.
- Compliance problems: Depending on the severity of the opacity, a vehicle may not pass the roadworthiness test, because headlights in poor condition no longer comply with safety standards.
- Risk of accidents: Poor visibility for you and other drivers can increase the risk of accidents, particularly on poorly lit roads.
Different methods for cleaning opaque headlights
There are several solutions for restoring opaque headlights. Some are easy to carry out at home using everyday products, while others require the use of special kits. Here’s an overview of the most common methods.
1. Using toothpaste
Toothpaste is a surprisingly effective product for cleaning opaque headlights. Containing gentle abrasive agents, it helps to polish the surface of headlights and remove the thin layer of oxidation. Here’s how to do it:
- Materials required: Toothpaste (preferably bicarbonate-based), a soft cloth, water, tape to protect the bodywork.
Steps:
- First clean the headlights with soap and water to remove dust and surface dirt.
- Apply a small amount of toothpaste to a soft cloth or sponge.
- Rub the surface of the headlights vigorously in a circular motion for 5 to 10 minutes.
- Rinse thoroughly with clean water and wipe dry with a clean cloth.
- For best results, repeat the operation as necessary.
This method is economical and practical, but offers a temporary result. For a more durable finish, we recommend applying a protective varnish after cleaning.
2. Polishing with bicarbonate of soda and vinegar
Baking soda is another household ingredient that can be used to restore the transparency of headlights. Combined with vinegar, it forms an abrasive paste that helps to eliminate opacity.
- Materials required: Baking soda, white vinegar, a soft cloth or sponge, water and soap.
Steps:
- Mix a small amount of bicarbonate of soda with water until you obtain a paste.
- Apply this paste to the headlights and rub with a damp sponge.
- Pour a little white vinegar onto the cloth and continue rubbing using circular movements.
- Rinse thoroughly with clean water and dry with a clean cloth.
This method is simple and environmentally friendly, but may require several applications to achieve visible results.
3. Using a headlight restoration kit
For those looking for a more professional and long-lasting solution, using a headlight restoration kit is an excellent option. These kits are specially designed to remove oxidation and restore the transparency of headlights. They usually include polishing products, abrasive pads and a protective varnish.
- Materials required: headlight restoration kit, water, tape, cloth.
Steps:
- Wash the headlights to remove any dirt.
- Apply the polishing products supplied in the kit, following the manufacturer’s instructions.
- Use the abrasive pads to lightly sand the surface of the headlight (if required by the kit).
- Then polish with a soft cloth or polishing machine to restore the shine.
- Finally, apply the varnish or protective coating to prolong the headlights’ clarity.
The main advantage of this method is its durability. A properly used kit can restore headlights for several months, or even over a year, depending on driving conditions.

4. Wet sanding and protective varnish
For particularly damaged headlights, a more abrasive method is to use fine-grain sandpaper with water. This removes the oxidised layer before applying a varnish to protect the surface.
- Materials required: Fine-grain sandpaper (1000 to 3000), water, protective headlight varnish, clean cloth.
Steps:
- Clean the headlights with soap and water.
- Use water-soaked sandpaper to gently sand the surface of the headlights. Start with a coarser grit (1000) then gradually move up to a finer grit (3000).
- Rinse regularly and dry the surface well.
- Apply a protective varnish to prolong the life of the restoration.
This method is very effective, especially for extremely dull headlights. However, it requires a little more time and precision.
Preventing headlight opacity
Once the headlights have been restored, it is important to take certain precautions to prevent them from quickly becoming opaque again. Applying a UV protective treatment is the best solution. Many restoration kits include this type of product. In addition, clean your headlights regularly with a soft cloth and soap to remove dust and residue.
Another tip is to park your car in the shade or in a garage to limit exposure to direct sunlight, which is the main cause of oxidation in polycarbonate headlights.
Conclusion
Cleaning an opaque headlight is a relatively simple task, but one that can greatly improve your visibility and safety on the road. Whether you opt for natural methods such as toothpaste or bicarbonate, or choose to use a headlight restoration kit, the important thing is to keep your headlights in good condition. By following these tips and taking regular care of your headlights, you can extend their life and ensure they stay brighter for your journeys.
